
Hello world! Lets kick it right off with a DIY. I was looking through the (large) pile of vintage jewelery I have collected, much of it given to me by my grandmother. I found a pair of crystal clip-on earrings that I have been wanting to do something with for a while. This idea sort of came out of nowhere, but it worked.
Vintage Clip-on Earring Slave Bracelet:

Supplies:
- 1 Clip-on earring
- Thin chain
- 1 Lobster clasp
- 5 Jump rings
- Needle and/or flat nose pliers and wire cutters

This DIY requires that the earring be clip-on as it uses parts that it are only on a clip-on earring. A screw-on earring won't work.
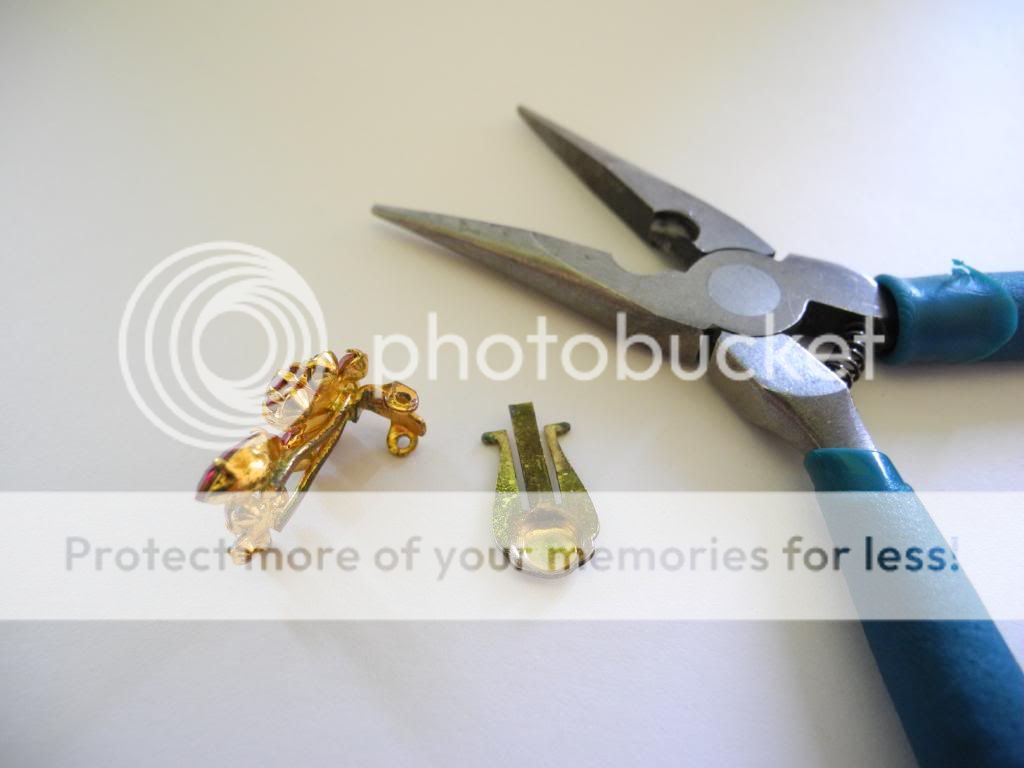
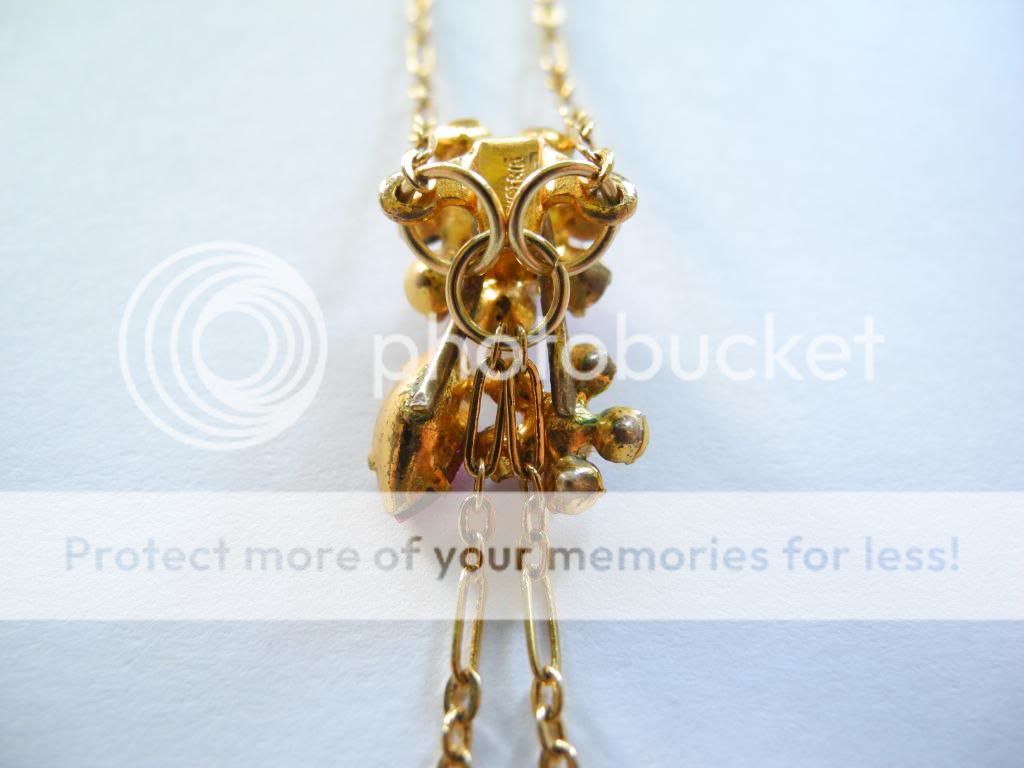
Start by removing the back clip-on part. It requires a bit of wiggling and pulling.

Use your pliers to flatten the two prongs (I don't know what to call them? The things with the holes) that the back clip-on part was attached to.

Now flatten the whole part against the earring. My earring was soft enough to bend with my fingers.

Using a jump ring, attach the lobster clasp to one of the prong holes on the back of the earring. Attach a jump ring to the end of the chain, hook it to the clasp like you would a regular bracelet. This looks really weird, but don't worry you'll change it later, its just for measurement purposes.
When making any kind of bracelet you always want to take the clasp into account, if you don't you could end up with a bracelet that is too big.
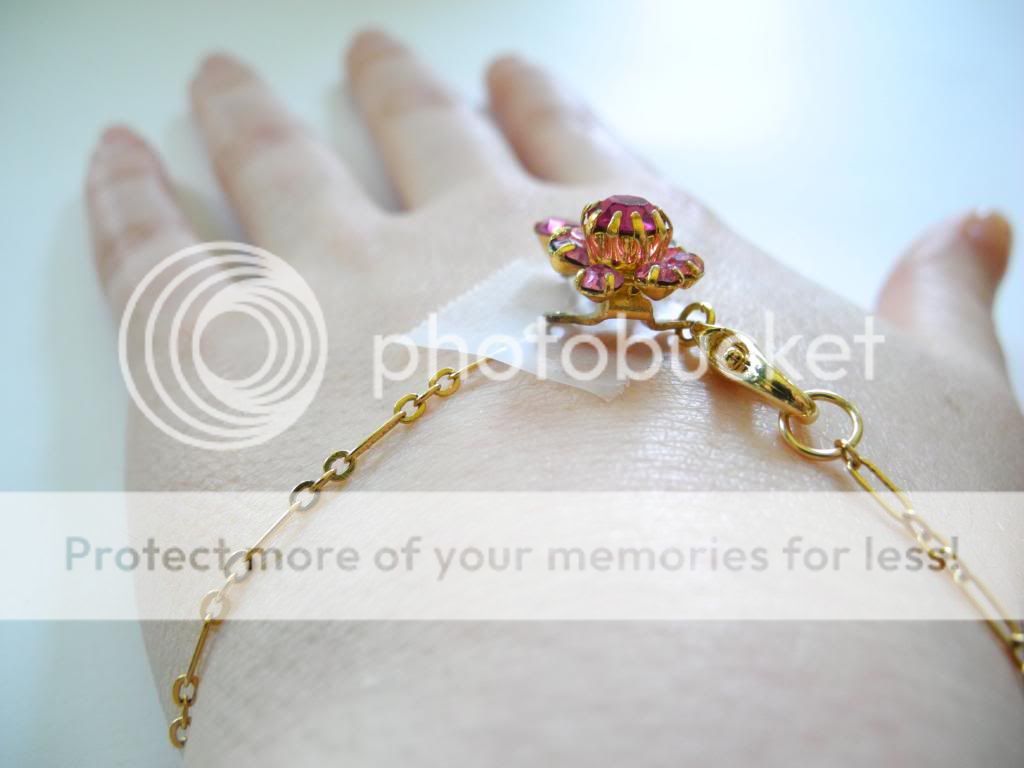
Place the earring where you want it to rest on your hand. Wrap the chain around your wrist to meet the other prong. Tape can help with this step (especially when you're trying to take pictures at the same time). Cut the chain to the measured length.

Remove the clasp from the earring, fold the chain in half and cut it into two equal parts.
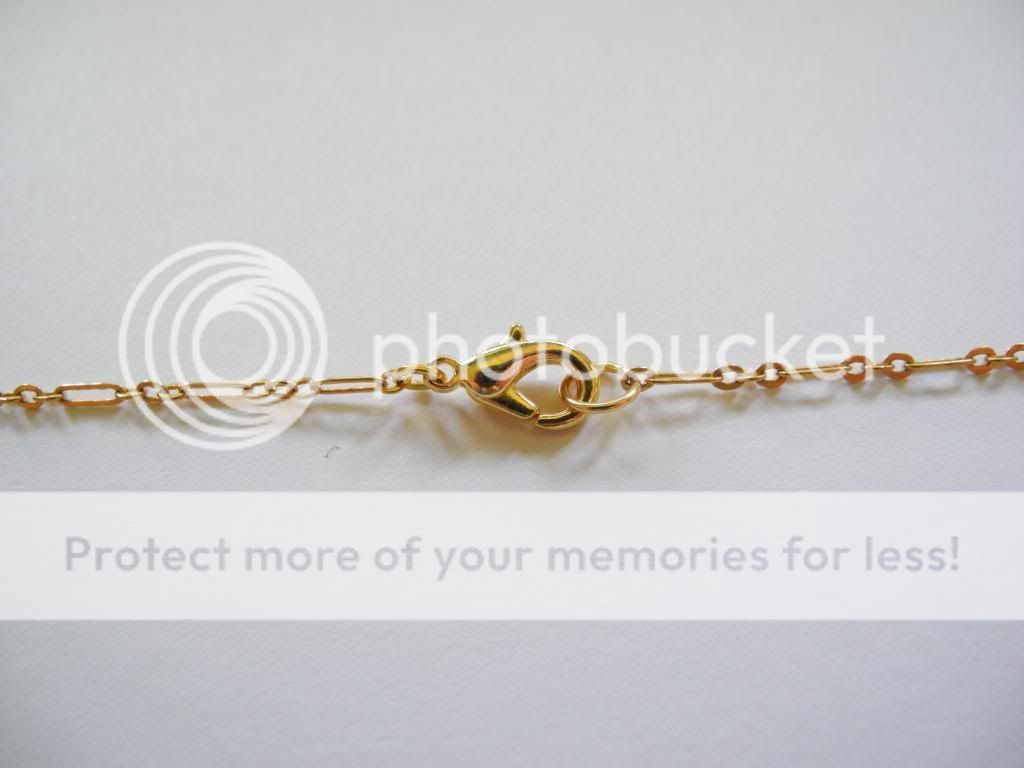
Attach the clasp to the other chain so that it is in the middle of the two chains.
I usually use a smaller jump ring to attach a lobster clasp to a chain, but one the same size as the rest will work fine. Its just a looks thing.

Take the end of the chain and attach it to the earring prong using a jump ring.

Attach the other end of the chain to the other prong using another jump ring. It should now look like a really big bracelet.
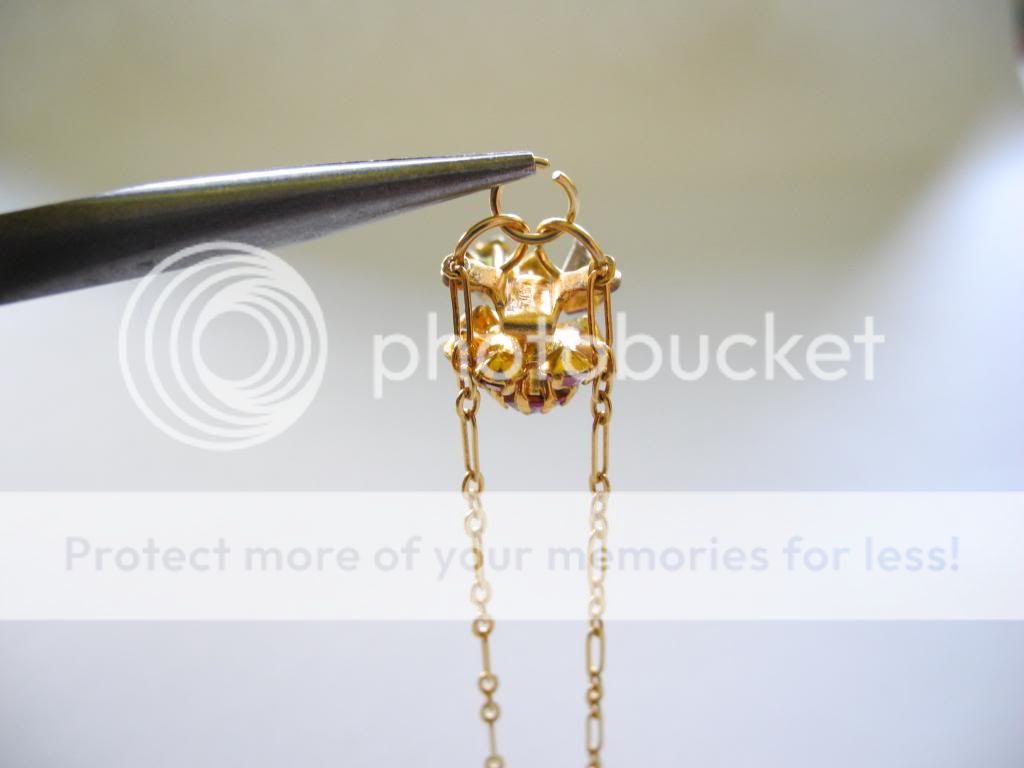
Attach the two jump rings (the ones that attach the chain to earring) together with another jump ring.

Attach a second piece of chain to the third jump ring.
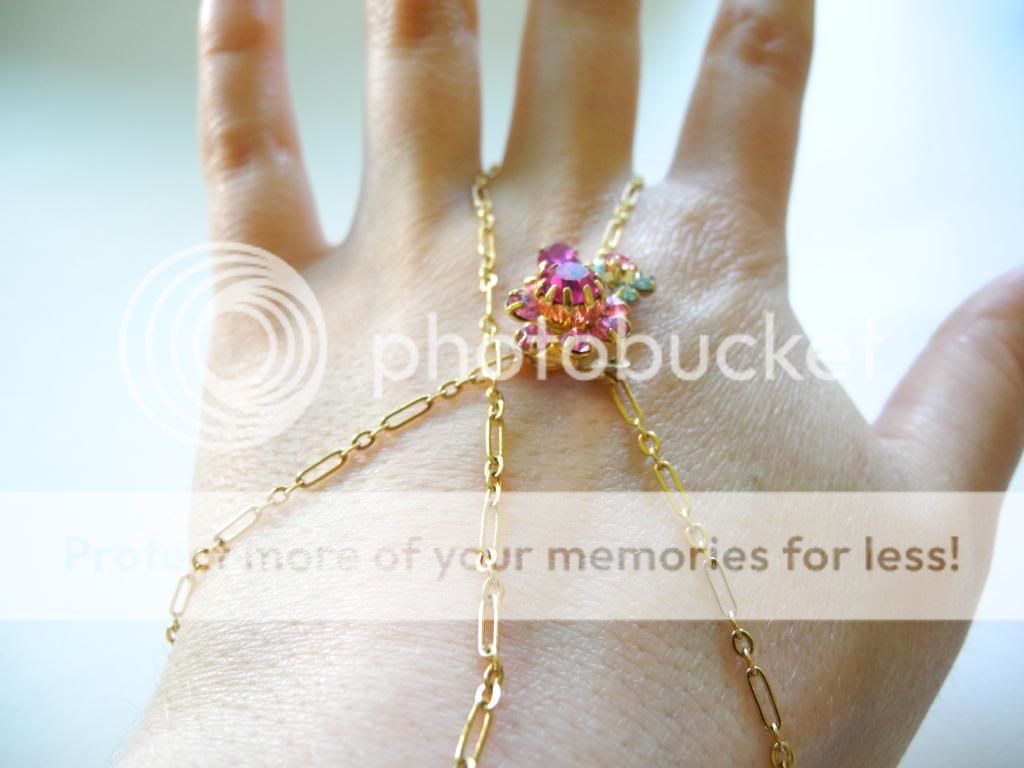
Put the bracelet on. Take the chain you just attached and wrap it around your middle finger. Measure and cut the chain.
After finishing the bracelet I realized that measuring this part with a flat hand left the bracelet feeling kind of tight and it was hard to tighten my hand into a fist. This could be easily fixed by making the finger chain a bit bigger when you measure it in this step. After making my own I fixed this problem by adding an extra jump ring at the clasp.
Attach the other end of the finger chain to the jump ring. And Ta-Da, you're done!

No comments:
Post a Comment