I saw some leather pouches when I was at American Apparel and thought they were adorable. Here, I've made the perfect purse size leather snap pouch using a scrap of leather.
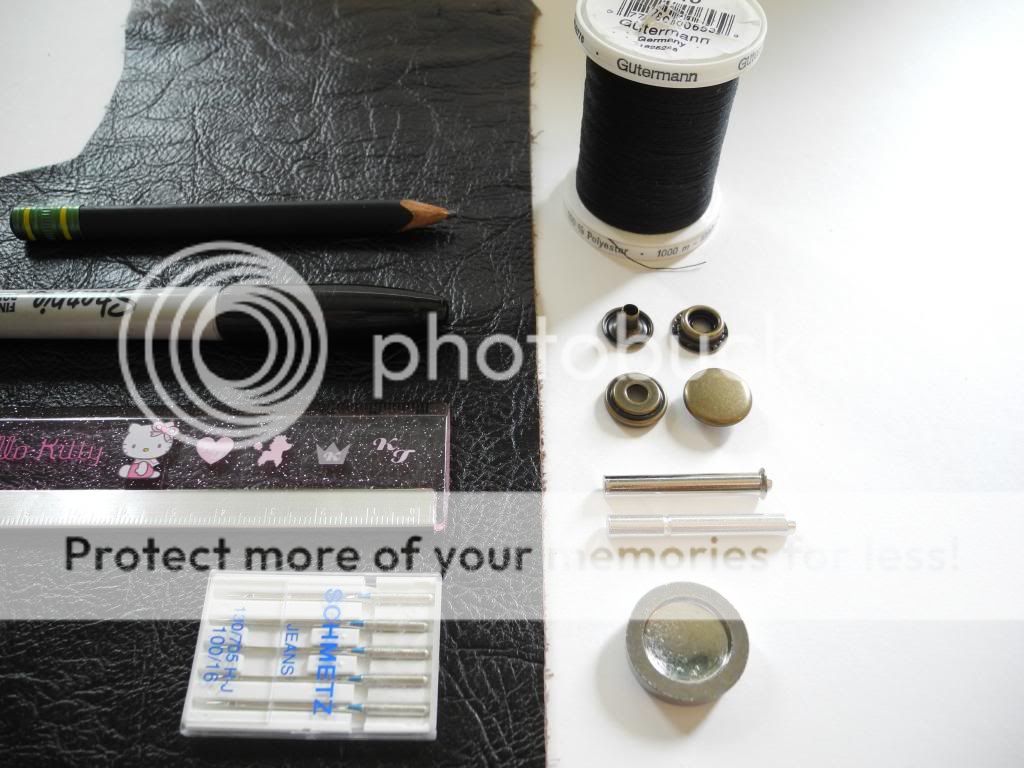
Supplies:
- Soft Leather or Faux Leather
- No-sew Snap + tools + Hammer
- Paper + Ruler + Pencil/Sharpie
- Heavy-duty Sewing Machine Needle + Sewing Machine + Thread
- Tape
- Scissors
The Snap comes in four pieces (two for the top, two for the bottom). Three 'tools' should also come with the snap.
To make the pattern: on a piece of paper draw a square (or rectangle) the size and shape you want your pouch to be. Make one side a fold side, here they are indicated with dotted lines. Draw a second same-sized square along the dotted line. Make the fold line of the second square parallel to the first. Draw the flap along the second dotted line. When drawing the flap make sure it is long enough to fold over, the tip should reach close to the center of the pouch. I traced the round 'tool' that came with the snap to make the rounded tip. Cut the pattern out.
Tape the pattern to the wrong side of the leather. Cut Out. Mark the fold lines on the wrong side.
Following the snap instructions, attach the top snap to the flap. Using a hammer was not specified in the instructions I used, but I definitely needed it.
Fold the pouch inside-out, following the marked fold lines. Tape helped me hold it together as I took the picture. Mark the spot where the top snap meets the pouch. You want to be as accurate as possible so the snap connects together properly.
Unfold the pouch. Following the snap instructions, attach the bottom snap at the mark you just made.
Fold the pouch right side out, following the marked fold lines. Putting pins in leather will leave holes, instead tape the edges together. Place and cut the tape so that you won't end up sewing over it.
At first I was kind of nervous that I wouldn't even be able to sew through the leather. I used a sturdy 'Jean' needle so that it wouldn't break, and sewed very slowly. To my surprise, it was much easier than I thought.
Sew the two taped edges at a 1/4 inch seam allowance (the edge of the presser foot right at the edge of the pouch). Don't back-stitch.
Pull the threads through to the back of the pouch. Double knot the threads, and cut them short.
And its done! This pouch is so simple, you could make it in a range of sizes and shapes. I think it would look neat if, instead, the thread was a bright contrasting color. Since the inside of the pouch is soft it is perfect for jewelery. I'm using this one to keep trinkets inside my purse.


No comments:
Post a Comment