You can use any kind of stone or small bead in this very versatile bracelet.
Supplies:
- Approx. 5 small beads
- Thin chain
- 5 jumprings
- 2 Clam shell findings
- 2 Crimp beads
- Clasp
- Bead stringing wire, such as Beadalon
- Wire cutters
- Crimping or flat nose pliers
- Round nose pliers
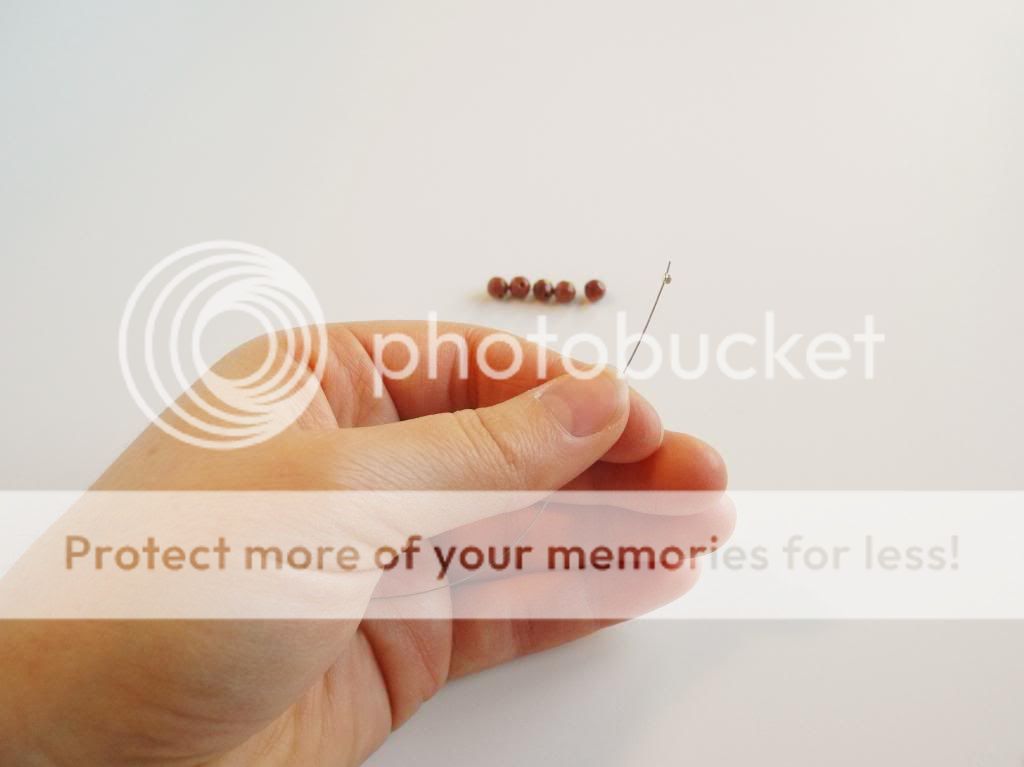
Start by cutting a a piece of stringing wire about 10 cm long, or a little longer than the length of your palm. Use your crimping pliers to squish the crimp bead on one end of the wire, leaving a little tail. If you do not have a crimping pliers use flat nose pliers to squish the crimp bead flat. Check the security of the crimp bead by tugging on it a little to make sure that it doesn't move.
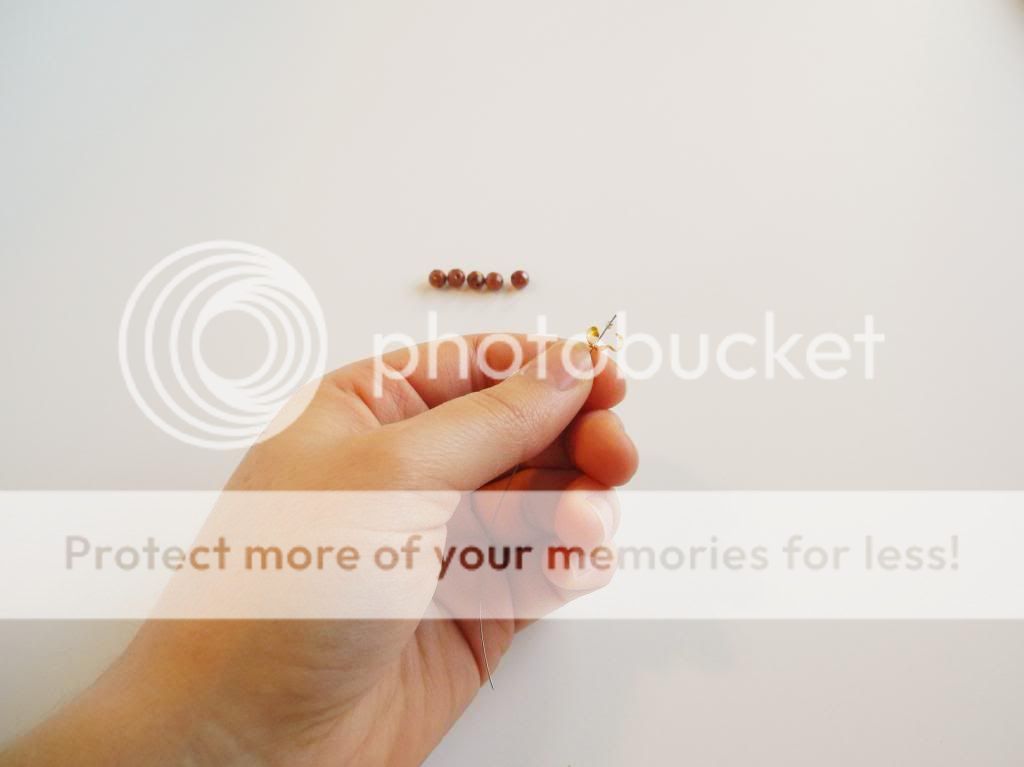
String on one clam shell so that the "shells" are around the crimp bead.
Use your pliers to gently close the clam shell.
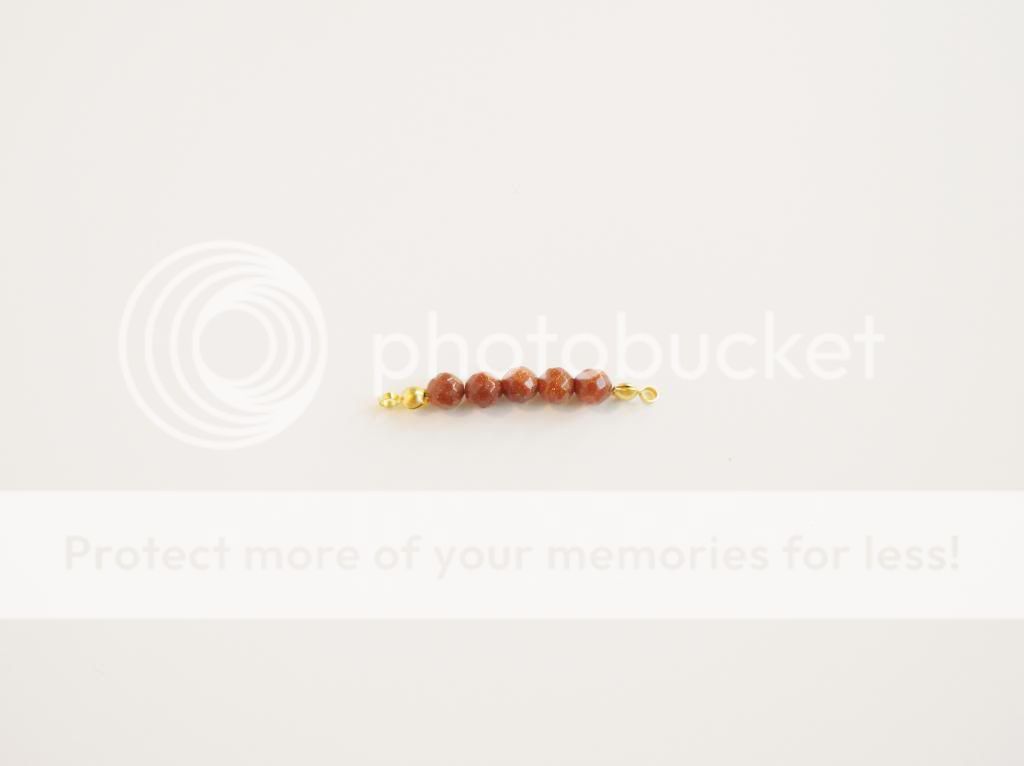
String your beads on to the wire. Gently flatten out the second clam shell then string it on as well, the "shells" should be facing up. String on the second crimp bead, crimp it fairly close to the beads. Trim the wire and close the clam shell.
Take your round nose pliers and curl both clam shell hooks into tight loops. This tutorial has good close-up photos of how the clam shells should look, however they follow a different method of attaching them to the wire. But I'm sure either method would work well.
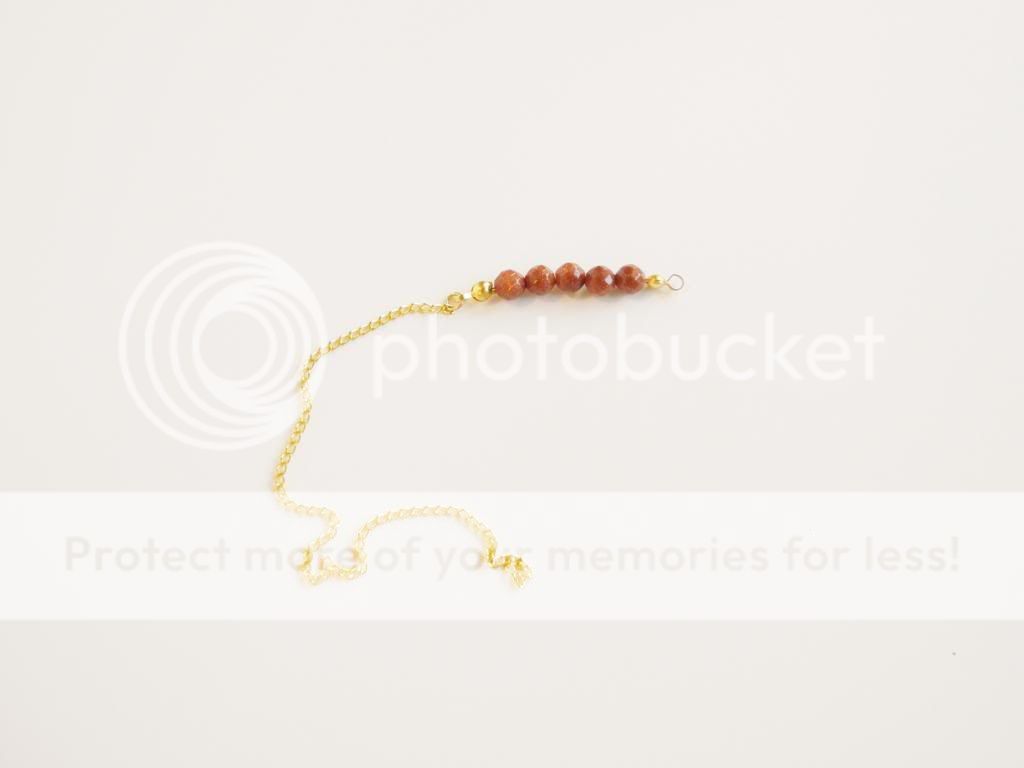
Attach the chain to one clam shell hook using a jump-ring. Measure the chain around your wrist, cut it. Take into account that you will be attaching a clasp so the chain should be a little shorter than you think it should be.
Fold the measured chain in half and cut it into two equal pieces. Attach the piece of chain that you just cut to the other clam shell hook with a jump-ring. Use another jump-ring to attach the clasp to the end of one chain. Attach another jump-ring to the other chain, it is for the clasp to hook on to (I like to use 2 here, that is why it says 5 in the supplies)
And you are done! Now you have a delicate bracelet perfect for stacking. Stay tuned on Instagram for pictures of my craft fair adventures!


No comments:
Post a Comment